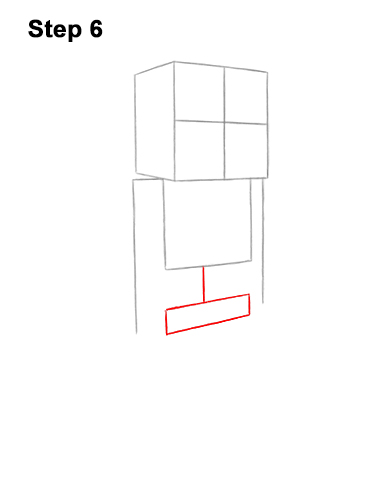
Step 6: Below the torso, draw a short, vertical line as a guide for the Skeleton's spine. Under the spine, draw a small rectangular shape as a guide for the pelvis. The lines for the top and bottom of the pelvis should slope a bit. The lines for the side should be vertical and they should be short.
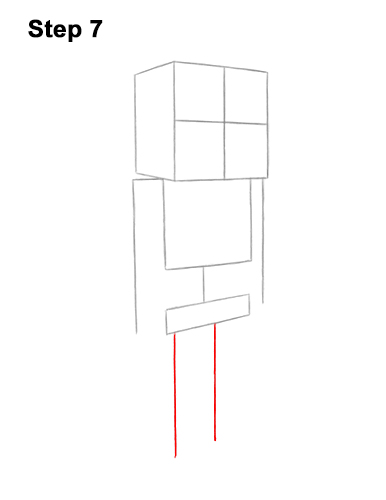
Step 7: Under the pelvis, draw two more long, vertical lines as guides for the Minecraft Skeleton's legs. Draw the legs close to the left edge of the pelvis. These lines should be similar in length but because of the tilt of the pelvis the line on the left will appear longer.
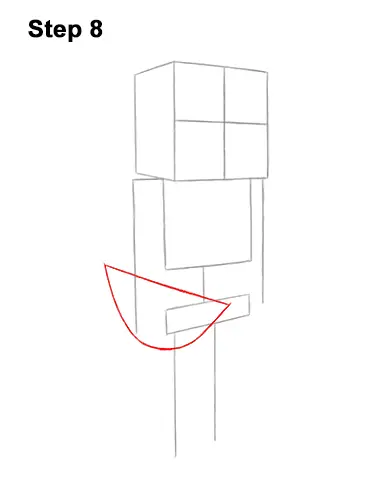
Step 8: On the left side of the body draw a long shape that's similar to the letter D on its side as a guide for the Skeleton's bow. The top line of the bow should slope a bit and it should overlap a bit of the arm and pelvis. The bottom line of the bow should curve and it should overlap the pelvis and part of the leg. Pay attention to the size of this shape in relation to the body.
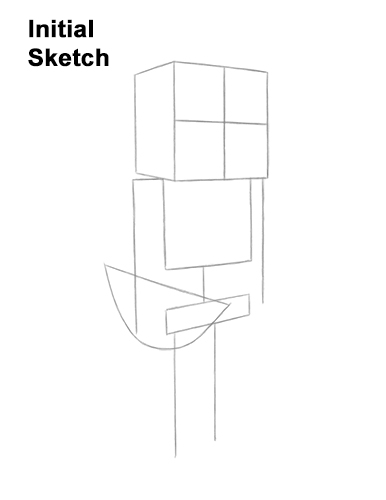
That's it for the guides! For the next steps, use darker lines for a more defined drawing.
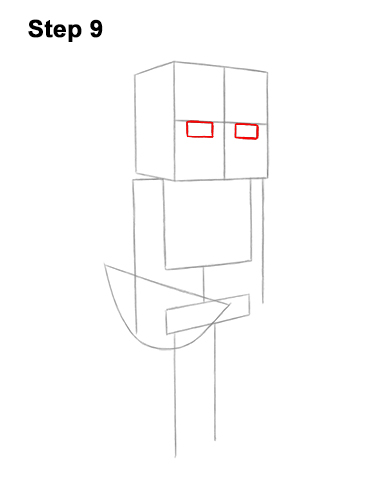
Step 9: Inside the head, under the horizontal construction line, draw two small rectangles for the Skeleton's eyes. Use the construction lines as guides to help you determine the size and position of the eyes. Pay attention to how far apart the eyes are.


