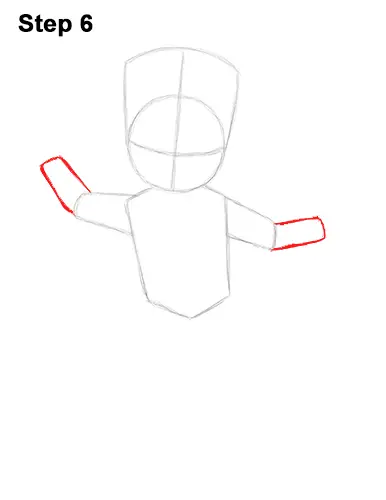
Step 6: At the edge of the arms, draw the guide for Groot's forearms using a similar shape to the arms but smaller. The forearm on the left should point upward more than the one on the right.
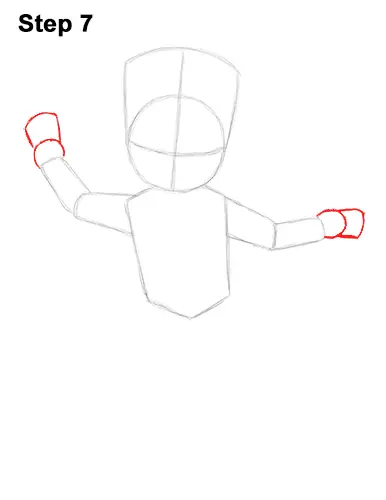
Step 7: At the end of each forearm, draw the guides for Baby Groot's hands as small half-circles. At the edge of each half-circle, draw a shape similar to the top of the head but smaller for the fingers.
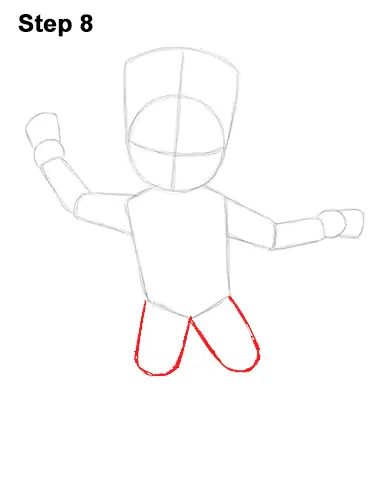
Step 8: Below the torso, draw two U-shaped lines as guides for the top part of the legs. First draw the sloping sides, then the curved bottom. Pay attention to their size compared to the rest of Baby Groot's body.
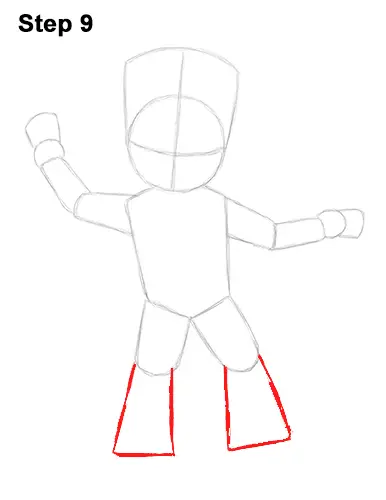
Step 9: Add the guides for the bottom half of the legs by first drawing two long vertical lines with a shorter horizontal line at the bottom. The shapes should be wider at the bottom. Groot's leg on the right should slope a bit more.
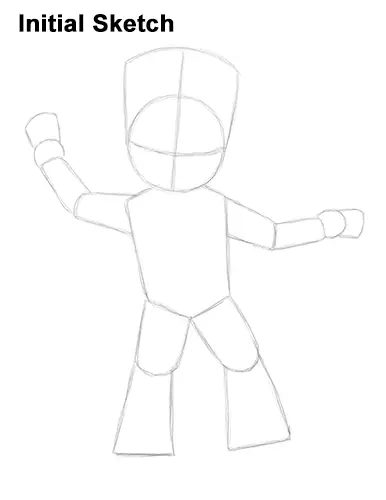
That's it for the guides! For the next steps, use darker lines for a more finished Baby Groot drawing.


