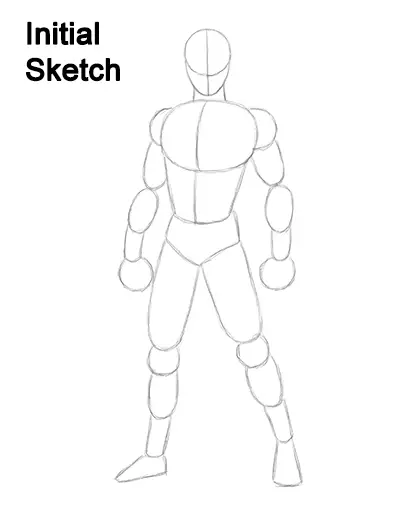
That's it for the guides! For the next steps, use darker lines for a more finished drawing. You can also use this as a basic template for other characters that have the same basic body type, like Daredevil or the Flash.
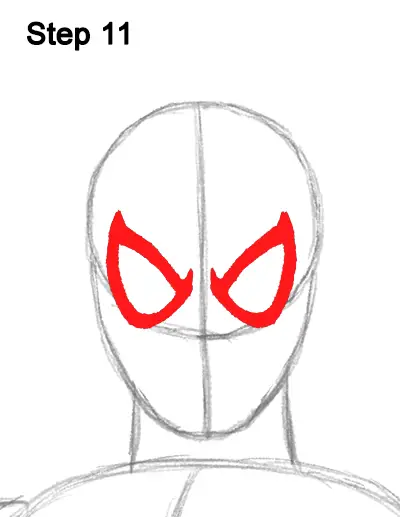
Step 11: Lightly sketch two small triangles inside the head as a base for the eyes on Spider-Man's mask. Use the initial lines as guides for the placement of the triangles. When you get the placement and size of the eyes right, darken the lines. Follow the basic path of the triangles but make the lower edge curvier as you darken the lines. The top corners of each eye should end in a spiky point.
You can also just omit the spikes and make Spider-Man's eyes rounder on the corners for a simpler drawing. Make the outline of the eyes thicker and darker for more emphasis. Different artists may draw Spidey's eye s bigger or smaller. It all depends on their particular style. You can give your Spider-Man drawing bigger or smaller eyes if you'd like.
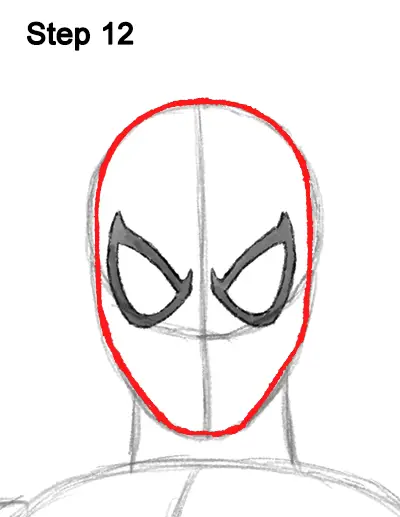
Step 12: Use the initial circle and arc as guides to draw the outline of the head. Follow the basic outer edge of the guides as you darken the lines to form the shape of Spider-Man's head. Use more pronounced angles to emphasize the shape of the jaw and the chin.
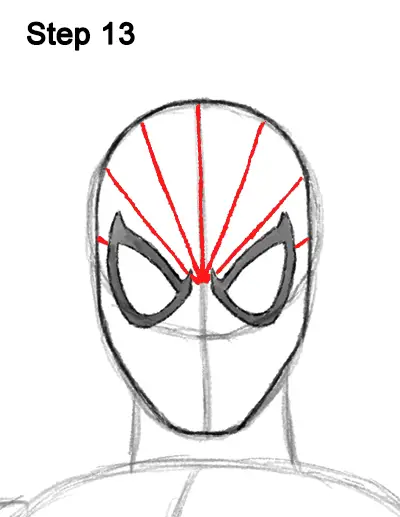
Step 13: Draw the top part of the mask's webbing as a series of lines across Spider-Man's head. First darken the vertical construction line, then add a series diagonal lines on either side. The lines should look like the letter V that progressively gets wider and wider. Make sure these lines don't overlap the shapes of the eyes.
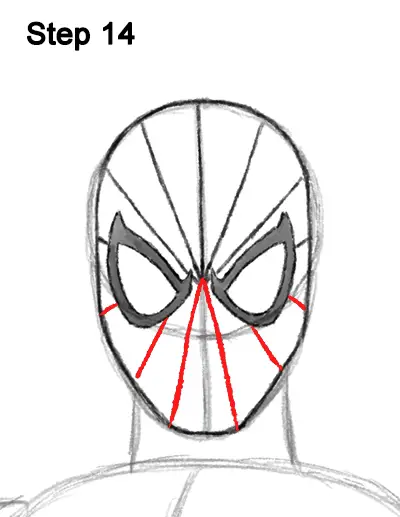
Step 14: Now draw the bottom part of the mask's webbing using more lines. First draw a couple of lines similar to an upside-down letter V below Spider-Man's eyes. Then draw more lines with a diagonal orientation on either side.


