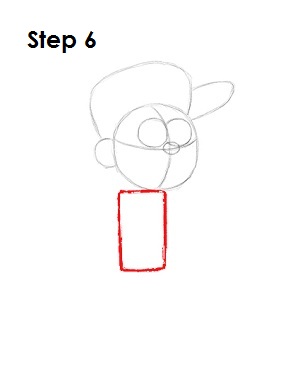
Step 6: Under Dipper Pines' head, draw a rectangle as a guide for his torso. The height of the rectangle should be about the same as the height of the head.
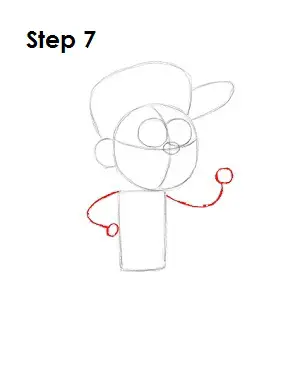
Step 7: Draw two lines with small circles at the ends as guides for Dipper Pines' arms. The line on the left curves down toward the bottom of his torso. The line on the right should bend up toward his head.
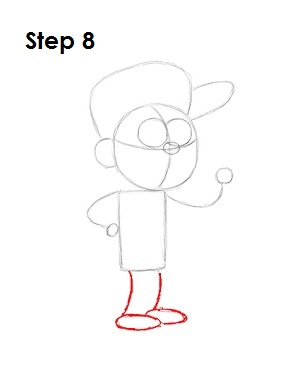
Step 8: Under Dipper Pines' body draw two curved lines as guides for his legs. At the end of each line, draw a long oval as guides for his feet.
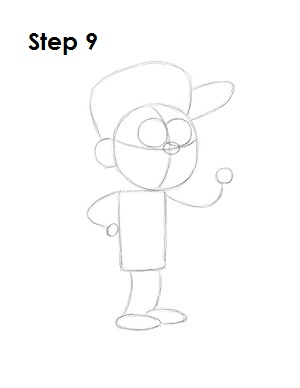
Step 9: That's it for the initial sketch! You have the basic Dipper Pines shape. Now go in and tighten your drawing. From this point on, press harder with your pencil in order to get darker lines and a more defined sketch.
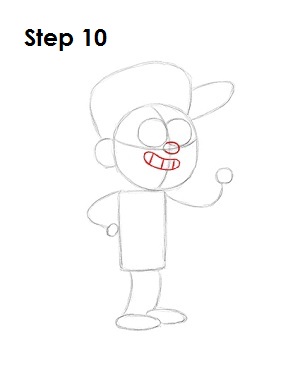
Step 10: Tighten the shape of Dipper Pines' nose by darkening the right side of the oval. Under the nose draw a shape similar to a sausage for the mouth. Inside the mouth draw two lines to create Dipper Pines' teeth.


