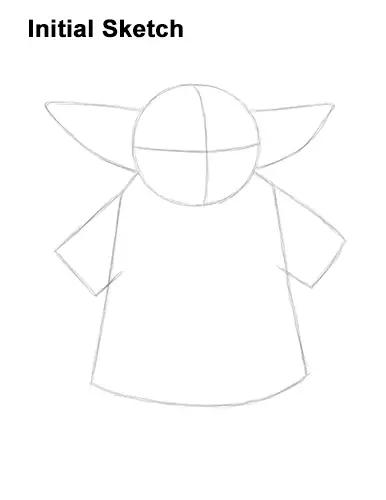
That's it for the guides! For the next steps, use darker lines for a more defined drawing.
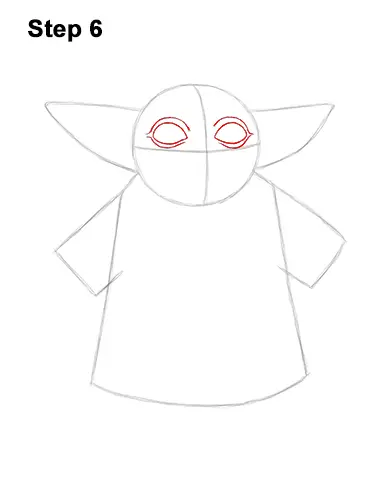
Step 6: Inside Baby Yoda's head, lightly sketch two small circles for the eyes. Use the initial lines as guides for the position and size of the eyes. When you get the size and position of the eyes right, darken the lines. Extend the sides of the eyes outward and make the shapes pointy for the corners of the eyes. Don't make the corners of the eyes too big. The eyes should be mainly round with small corners on the sides. Draw a curved line above each eye for the upper eyelids. Add a flatter line under each eye for the lower eyelids too. The ends of the lines on the sides should almost meet.
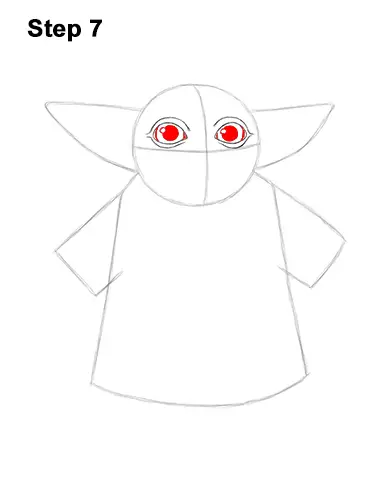
Step 7: Darken the small initial circles for the eyeballs. Inside each eye, off to the side, draw a tiny circle for highlights. In the middle of each eye, draw a slightly smaller circle than the eyeball for the pupils. When you get the size and shape of Baby Yoda's pupils right, shade them in. Don't overlap the tiny highlight circles as you shade the pupils.
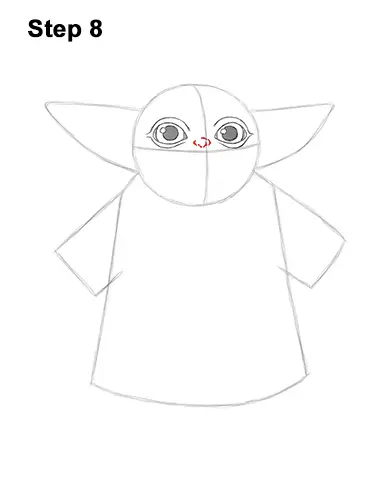
Step 8: In between the eyes, draw a small, curved line for this Mandalorian character's nose. The sides of the shape should bulge out for the nostrils. Sketch lightly at first and only darken the lines when you get your shape right. Add a small line at the top.
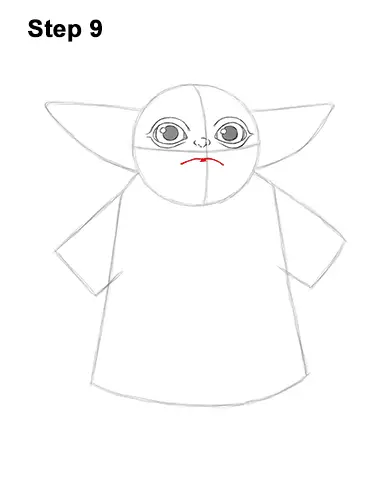
Step 9: Below Baby Yoda's nose, lightly sketch a line that curves slightly downward on the sides for the mouth. Don't place the mouth too close to the nose. When you get the position and shape right, darken the line. Dip the middle of the line down a bit. Draw a short line under the mouth for The Child's lower lip.


