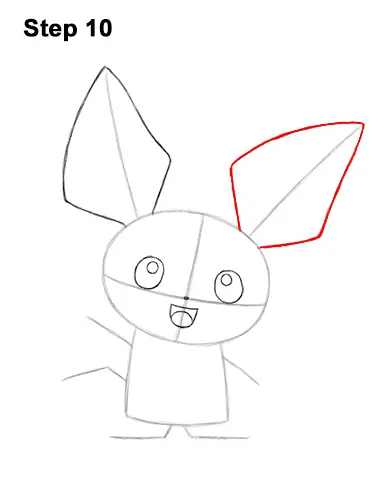
Step 10: Use the line on the left as a guide to draw Pichu's other ear the same way. Make the bottom part narrow, the middle angular and the top thin and pointy. This ear should be tilted to the right a bit.
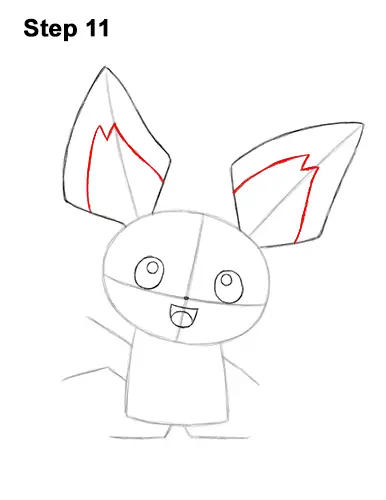
Step 11: Inside each of Pichu's ears, draw an angled line for the design. The pattern of the design should be similar to a long letter M with a short middle section.
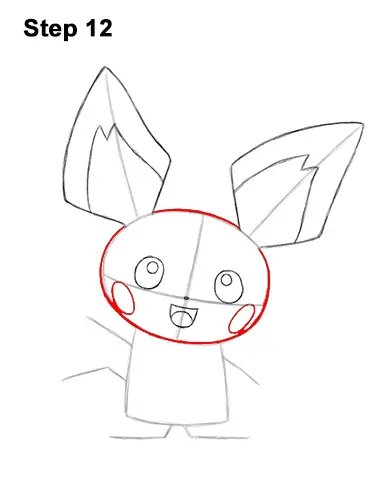
Step 12: Darken the initial shape of the oval for Pichu's head. Don't darken the part of the oval that are next to the ears. Inside the head, on either side, draw a small oval for the cheeks.
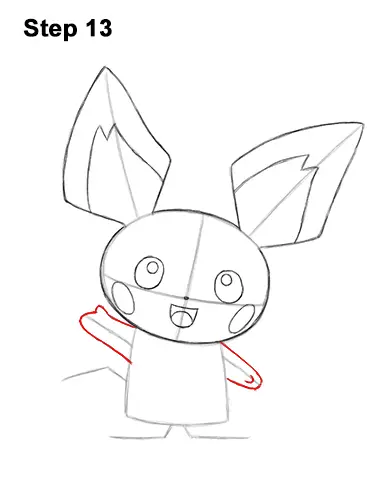
Step 13: Use the lines on the sides of the body as guides to draw Pichu's arms. Follow the path of the lines and draw the shape of the arms around the guides. Draw a small arc on the top end of the arm on the left for the thumb. For the arm on the right, draw a small arc inside the arm near the tip for the thumb.
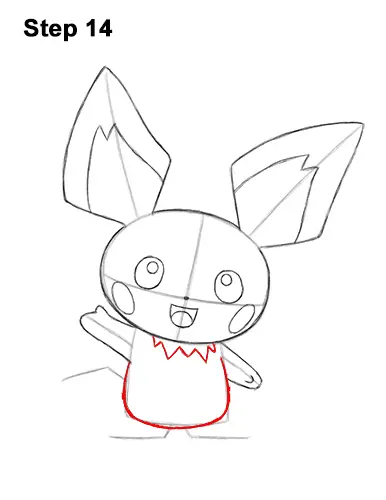
Step 14: Darken the lower part of the shape under the head for Pichu's body. Make the corners and sides rounder. Don't darken the parts of the arms that are next to the body. Directly under the head, draw a series of zigzag lines for the design on the neck.


