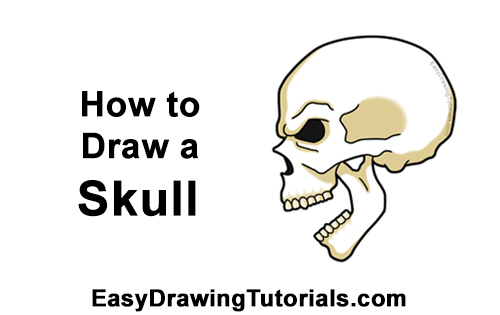
Use the step-by-step drawing instructions below to learn how to draw a creepy Skull for Halloween. Stay tooned for more tutorials!
Stay tooned for more free drawing lessons by:
- Liking us on Facebook>>
- Subscribing on YouTube.com>>
- Visit How2DrawAnimals.com for free animal drawing tutorials>>
All of the free art lessons on EasyDrawingTutorials.com are good drawing tutorials for beginners and experienced artists alike. The online tutorials are easy to follow; they teach you the how to draw basics while showing you how to draw fun cartoon characters step by step. Each cartoon character has a video drawing tutorial option, as well as step-by-step photos and written text to follow.
RELATED TUTORIALS
 |
 |
 |
To draw this scary Halloween Skull step by step, follow along with the video tutorial below and pause the video after each step to go at your own pace. You may find it easier to follow the step-by-step drawings below. The new lines in each step are shown in red, and each step is explained in the text below the photo, so you'll know exactly what to draw in each step. You may want to open the video in a new tab and use both drawing methods! Take your time and draw at your own pace.
The Narrated step-by-step video tutorial:
Intro: Start off with a pencil sketch. In the beginning stages, don’t press down too hard. Use light, smooth strokes for sketching so that it's easy to erase if you make a mistake.
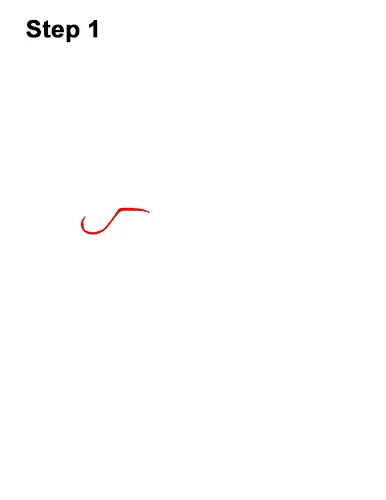
Step 1: Draw a curved line that's similar to the letter J for the scary skull's eyebrow. The line curves on the left side and then angles sharply on the right side. Draw this line close to the left side of the paper so that you have enough room on the right side for the rest of the skull.
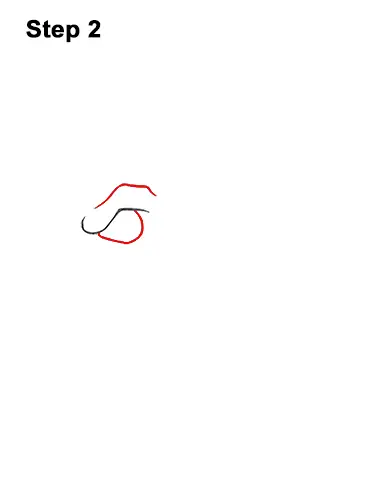
Step 2: Below the eyebrow, draw a curved line for the bottom part of the skull's eye socket. Above the eyebrow, draw an angled line to make the shape of the brown thick and bony.
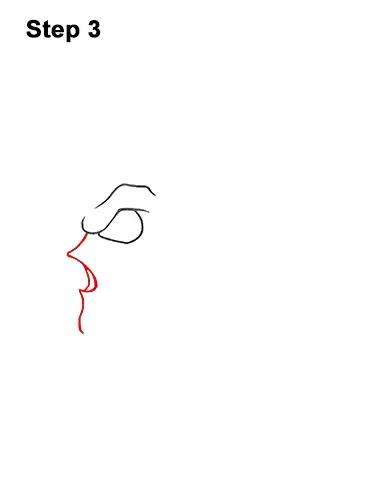
Step 3: Starting on the left side of the eyebrow, draw a long, angled line for the nose and front part of the skull. The top of this line slopes to the left and then curves back inward to create the nose cavity. Below the nose cavity, draw a curved line for the front part of the skull. Add an extra curved line in the nose cavity for a hole-like appearance.
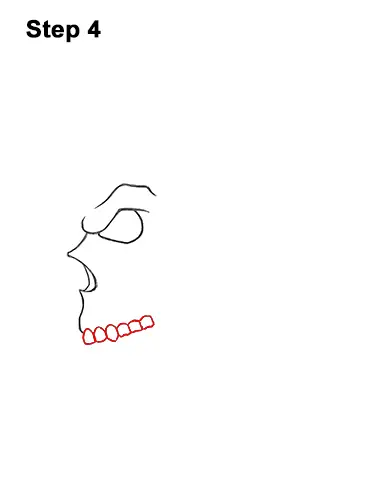
Step 4: Draw a series of small shapes across the bottom for the top row of the skull's teeth. The shapes are square-like but the tops are rounder. Make the third shape from the left pointy at the bottom as that is the canine. Don't draw these shapes too big. Notice that the row of teeth slopes up a bit.
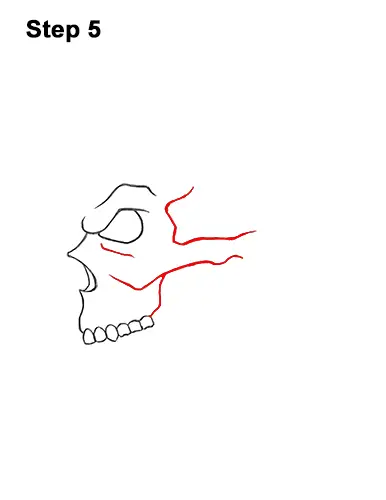
Step 5: Draw a line that angles up from the right side of the teeth for the rest of the skull's top jaw. Draw a long, angled, horizontal line from the right side of the nose to the right for the cheekbone. Above the cheekbone, draw a big, angled line that's similar to a blocky letter C for the temple. The top of the temple should be as high as the brow. Notice how far right the lines for the temple and cheekbone are. Below the eye socket, draw a line for a grove on the skull.
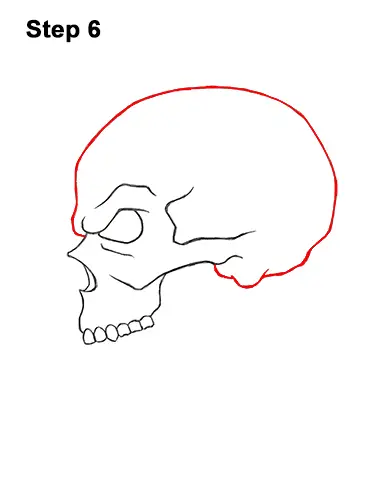
Step 6: Draw a big round shape that starts on the left side of the brow and then curves to the right all the way around the face and ends under the cheekbone for the top of the skull. To draw this shape, first make a small mark above the brow to determine the height. Then make another small mark far to the right of the temple to determine the width. Connect the small marks using curved lines to complete the shape of the cranium. Pay attention to how the shape curves on the top, left side and all of the bumps on the lower, right side. If you only want the top part of the skull you can stop at this step.


