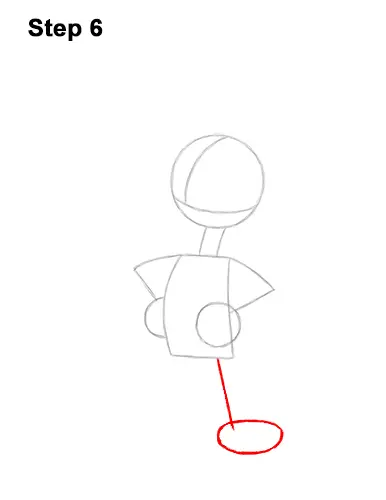
Step 6: On the lower, right side of the body, draw a long, sloping, vertical line as a guide for Woody Woodpecker's first leg. At the end of the line, draw an oval on its side as a guide for the foot.
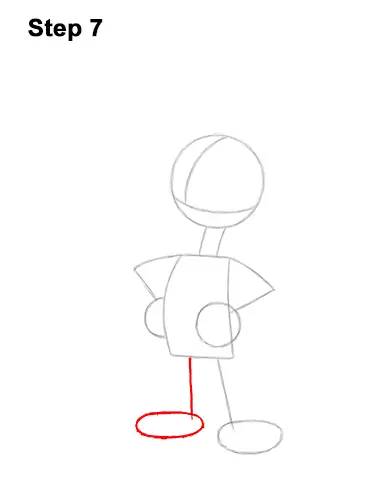
Step 7: On the left, draw a straight, vertical line as guide for Woody Woodpecker's other leg. At the bottom, draw another oval on its side as a guide for the other foot.
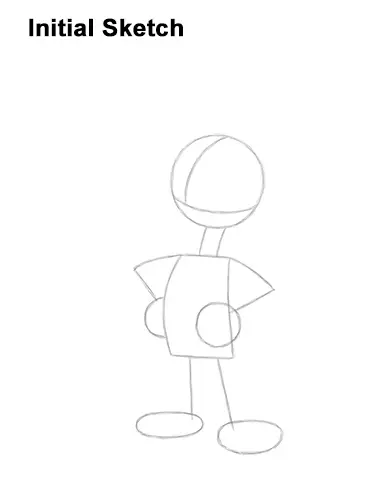
That's it for the guides! For the next steps, use darker lines for a more defined drawing of Woody Woodpecker.
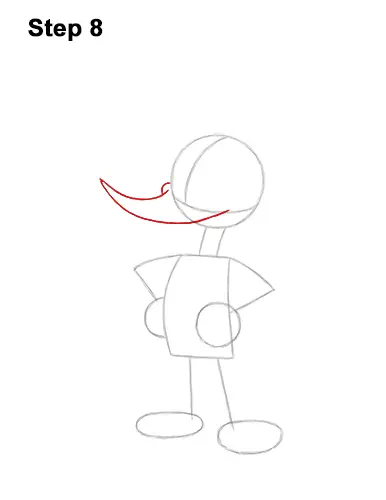
Step 8: On the lower, left side of the head, draw two curved horizontal lines that come together top form a point for Woody Woodpecker's beak. Pay attention to how far left these lines stretch. Use the horizontal construction line as a guide for the base of the beak. On the top part, draw a short, curved line for the side of the beak.
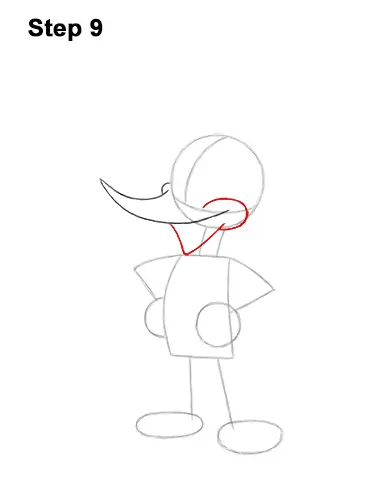
Step 9: On the right side of the beak, draw a curved line similar in shape to a backward letter C for a cheek. At the bottom, draw a big V-shaped line for the open lower beak. The lower beak should touch the torso.


