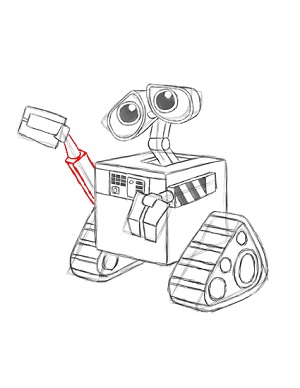
Step 16: Draw a cylinder that connects Wall-E's hand to his arm. The arm is basically one long rectangle, but most of it is hidden behind the body.

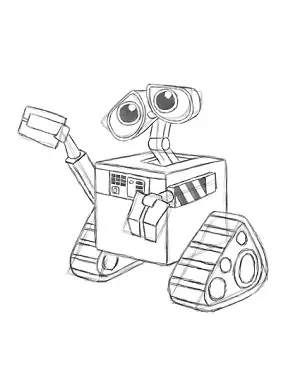
Step 17: That’s it! You now have a nice sketch of a Wall-E. You can stop at this quick drawing for a rough, sketchy look, or continue to the step below to go for a more finished look.

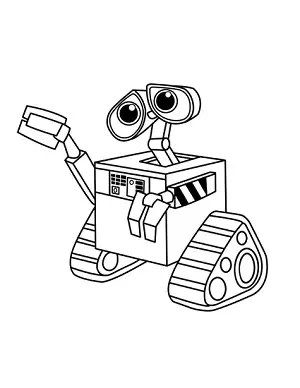
Step 18: For a more finished, inked look, carefully draw over the final sketch lines with a pen or marker. Wait for the ink to dry and then erase your pencil marks. You now have a finished inked drawing of Wall-E! You can stop here or go to the final step to complete your Wall-E drawing.

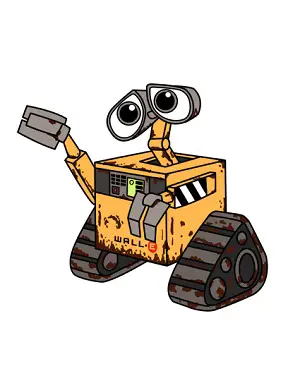
Final Step: For a completely finished Wall-E drawing, you have to color it. You can use anything you want: markers, color pencils or even crayons! To create his logo, write WALL and a dot in black on the lower right side of his body. Then with red draw a circle that encompasses the letter E. Wall-E is an old robot that picks up garbage, so color some splotches of brown all over his body to represent rust and dirt. It doesn’t have to be exact; just add the brown randomly. Color Wall-E's eyes, hands, tracks and the panel on his chest different shades of gray. Add some red and yellow-green on the panel for extra detail. Wall-E's body, neck and arms are yellow-orange. That’s it! You now have a completed drawing of Disney/Pixar's Wall-E.


