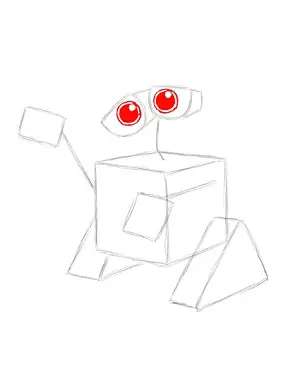
Step 6: Draw a big circle inside each of the half circles that make up Wall-E's eyes. Draw another circle inside each of those circles for the pupil. Shade in the inner circle except for another small circle on the upper right side that represents glare.
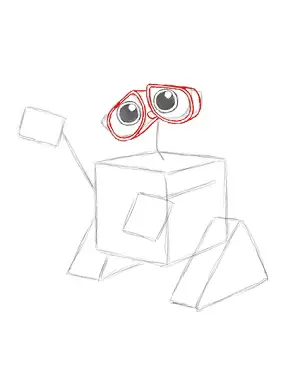
Step 7: Use the guide lines to help you give Wall-E's eyes a more round shape without so many angles and sharp corners. They kind of look like binoculars. Draw a small half circle in between them to connect the eyes.
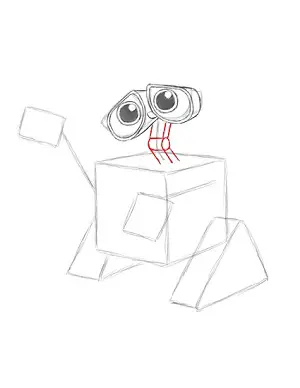
Step 8: Below the eyes draw Wall-E's neck using the initial line as a guide. Draw a small cylinder shape as a hinge where Wall-E's neck bends, then use a series of lines above and below the hinge to make the neck thicker.
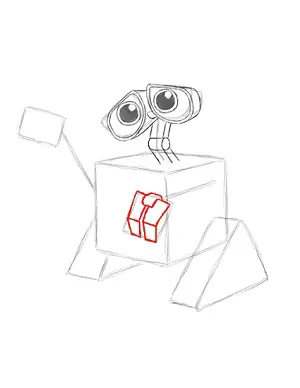
Step 9: Draw the right hand by using the initial square as a guide. The hand consists of two rectangles that make up Wall-E's flat fingers on a hinge.
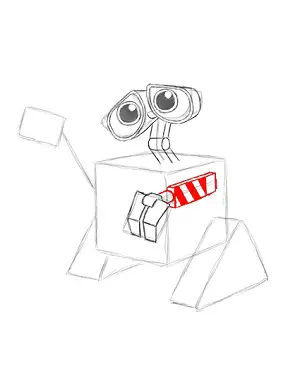
Step 10: Use the line as a guide to draw the rest of Wall-E's arm. Draw a rectangle extending back toward the body. Draw the sides of the arm more or less parallel to the sides of Wall-E's body. Inside the arm draw a few stripes for Wall-E’s design.


