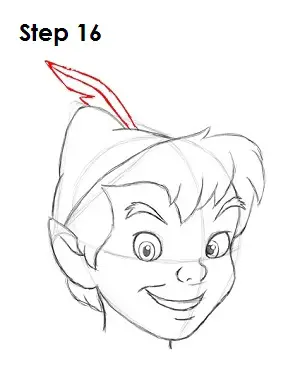
Step 16: On the top side of Peter Pan's hat, draw the feather as a series of lines that meet to a point. Make one of the lines split as a detail for the feather.
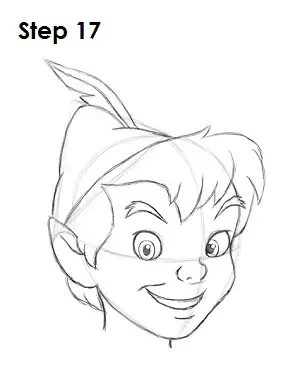
Step 17: That's it! You now have a nice sketch of Peter Pan. You can stop at this quick drawing for a rough, sketchy look or go for a more finished look by continuing to the step below.
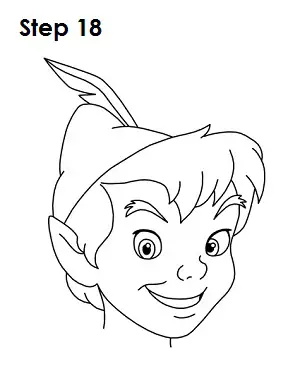
Step 18: For a more finished, inked look, carefully draw over the final sketch lines with a pen or marker. Wait for the ink to dry, and then get rid of every pencil mark with an eraser. You now have a finished inked drawing of Walt Disney's Peter Pan! You can stop here or go to the final step to complete your Peter Pan drawing.
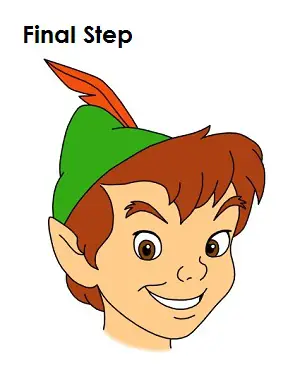
Final Step: For a completely finished Peter Pan drawing, you have to color it. You can use markers, color pencils or even crayons! Color his hair, eyebrows and eyes brown. His hat is green, and the feather is red. Peter Pan's skin is a peach color, but if you don't have peach, improvise and use yellow-orange or light brown. Experiment! That's it! You now have a completed drawing of Walt Disney's Peter Pan.
RELATED TUTORIALS
 |
 |
 |
 |
 |


