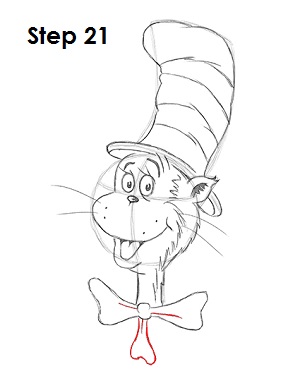
Step 21 (optional): Draw the bottom ends of the Cat in the Hat's bow by adding a few more long, curved lines.

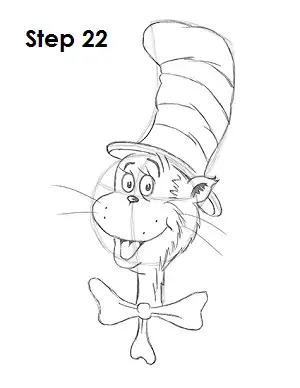
Step 22: That's it! You now have a nice sketch of Dr. Seuss' the Cat in the Hat. You can stop at this quick drawing for a rough, sketchy look or go for a more finished look by continuing to the step below.

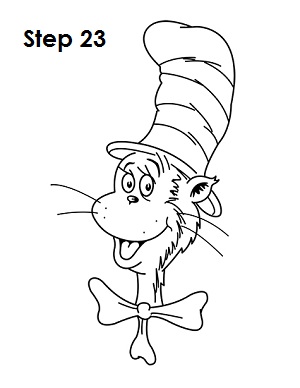
Step 23: For a more finished, inked look, carefully draw over the final sketch lines with a pen or marker. Wait for the ink to dry, and then get rid of every pencil mark with an eraser. You now have a finished inked drawing of Dr. Seuss' the Cat in the Hat! You can stop here or go to the final step to complete your Cat in the Hat drawing.

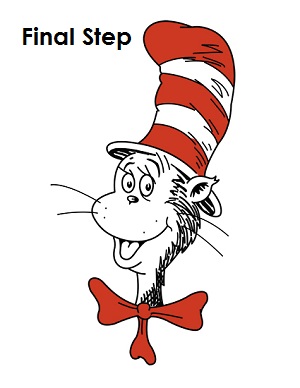
Final Step: For a completely finished Cat in the Hat drawing, you have to color it. You can use markers, color pencils or even crayons! The stripes on the hat and the bow are red. If you'd like, you can add more sketchy black lines along the right side of the face to represent fur. You can also draw a few more lines along the right side of the hat for more texture. That's it! You now have a completed drawing of Dr. Seuss' the Cat in the Hat.


