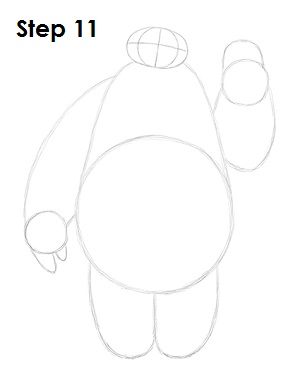
Step 11: That’s it for the initial sketch! You have the basic shape of Baymax from Walt Disney's Big Hero 6. Now go in and tighten your drawing. From this point on, press harder with your pencil in order to get darker lines and a more defined sketch.
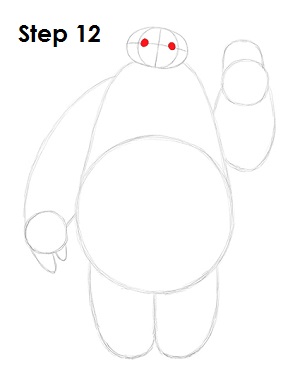
Step 12: Draw two small circles right on top of the horizontal construction line and shade them in for the eyes. Baymax's eyes should be set wide apart and almost touch the inner edge of the initial circle for the head. Use all of the initial lines as guides for placement as you draw.
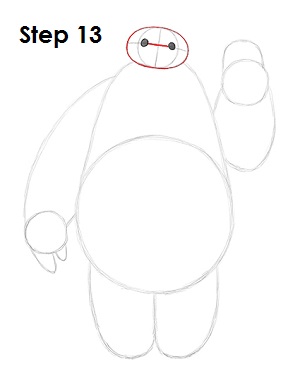
Step 13: Darken the small section between the eyes using a thicker line. Also darken the outer oval to create the shape of Baymax's head.
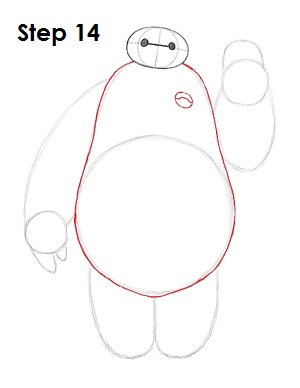
Step 14: Follow the basic path of the guides as you darken the outer lines under the head to create the shape of Baymax's body. Add a circle on the upper right side of the body with a line across it to indicate the port where his personality chip goes.
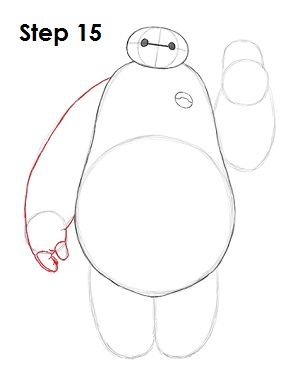
Step 15: Darken the lines on the left side as you follow the guides to create the arm by his side. Draw Baymax's thumb and other digits. Because of the angle, most of the digits will be behind the index finger, so don't worry too much about drawing those.


