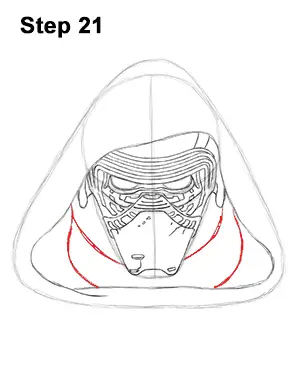
Step 21: Draw a few curved lines under Kylo Ren's helmet to indicate the folds on the hood's cloth.
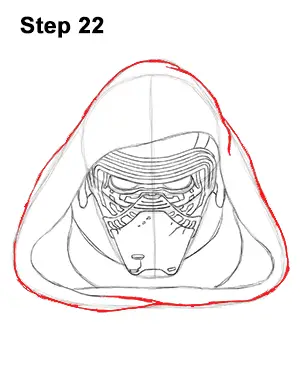
Step 22: Use the initial triangle-like shape as a guide to draw the outer portion of Kylo Ren's Hood. Follow the basic path of the guides but make the edges wavier as you darken the lines. Notice how the lines for the bottom edge fold onto each other.
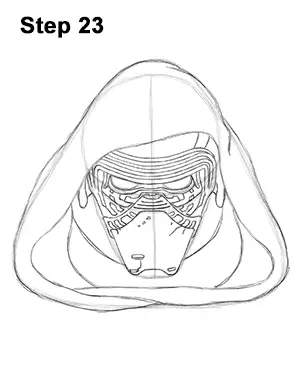
Step 23: That’s it! You now have a nice sketch of Kylo Ren from Star Wars:The Force Awakens. You can stop at this quick drawing for a rough, sketchy look, or continue to the next step for a more finished look.
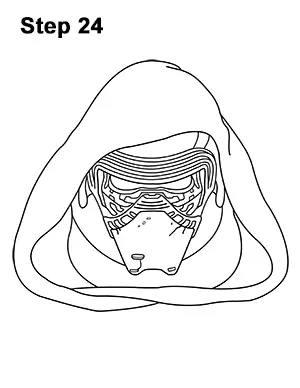
Step 24: For a more finished, inked look, carefully draw over the final sketch lines with a pen or marker. Wait for the ink to dry, and then erase all of the pencil marks. You now have a finished inked drawing of Kylo Ren! You can stop here or go to the final step to complete your Kylo Ren drawing in its entirety.
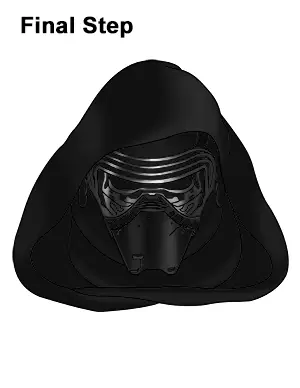
Final Step: For a completely finished Kylo Ren drawing, you have to color it. You can use anything you want: markers, color pencils or even crayons! Kylo Ren is basically all black. Use a lighter shade of black around the edges of the hood and on the sides of the bottom portion of the helmet to make them more three-dimensional. Use gray for the metallic bits around the eyes. Make the sides dark gray and leave a section near the middle almost blank to indicate shine. That’s it! You now have a completed drawing of Kylo Ren from Star Wars: The Force Awakens.
Thanks for visiting! Subscribe to the EasyDrawingTutorials YouTube Channel for a new tutorial every Sunday.
To learn how to draw animals, visit How2DrawAnimals.com.


